.jpeg)
From Wordpress To Jekyll
If you’ve visited my blog before, this post probably doesn’t look very different, but there are big changes under the hood! It’s now hosted using Jekyll on GitHub Pages. Here’s a write-up of how I converted it from WordPress. I’ve been hosting this blog for years using WordPress hosted on Site5. I chose that arrangement vs. hosting on WordPress.com to get experience customizing my own instance of the leading blogging platform. That experience lead me to one conclusion: I really don’t like WordPress! But I don’t blog very often, so I wasn’t motivated to change it.
When it came time to set up a blog for my consulting business, Data Squadron, I wanted to take a different approach. Like many coders, I would much rather format text via Markdown, handle version control via Git, and customize the site via writing code directly rather than using some arcane plug-in architecture. Static site generators make that all possible, and GitHub Pages offers a no-brainer free solution using Jekyll.
My colleague Art Rosnovsky helped design and build the site, and he steered me toward hosting on Netlify rather than GitHub Pages. Netlify still uses GitHub (or GitLab or Bitbucket) for the site’s source code but doesn’t restrict what Jekyll plug-ins you can use—or even that you use Jekyll at all. It offers powerful features like generating a preview site for every pull request, but is still free for low-volume sites.
Soon after we got datasquadron.com up and running, my Site5 bill came due, so I decided it was time to convert my personal blog to Jekyll. Fortunately, there’s a WordPress plug-in for that! Jekyll Exporter generates all the files needed for a barebones Jekyll site. You still need to dig into the Jekyll code to match the design of your existing site, but that’s the fun part! In this post I cover what Jekyll Exporter handled automatically, what I still needed to customize, and some specific issues I had to contend with.
Setup and Export
This method of maintaining a blog appeals mainly to coders, so I’m assuming you’re comfortable with command line operations, already have Git installed, and have a basic working knowledge of HTML and CSS. Jekyll is written in Ruby, so you’ll need Ruby and Bundler installed.
Your first step is to install Jekyll Exporter on your WordPress site, which will add an “Export to Jekyll” command to your “Tools” menu. This converts all your WordPress posts and drafts to Markdown, organizes them into the Jekyll directory structure, generates a _config.yml, and saves it all in a .zip archive. It also includes your wp-content directory with all your site’s images. It does not, however, attempt to convert your design theme. More on that later.
In order to preview your newly created Jekyll site and publish it to GitHub Pages, you’ll need to set up your GitHub repo and install Jekyll locally. I found it worked best to do that in this order:
- Create a new repo on GitHub repo using their special naming convention for GitHub Pages sites:
<your_github_name>.github.io. -
Often your next step is to
git clonethe repo on your local machine. Don’t do that. Instead, use Jekyll to create your local directory:$ gem install bundler jekyll $ jekyll new <your_github_name>.github.io $ cd <your_github_name>.github.io -
Then initialize git in that directory and link it to your remote GitHub repo:
$ touch README.md $ git init $ git add README.md $ git commit -m "first commit" $ git remote add origin https://github.com/<your_github_name>/<your_github_name>.github.io.git $ git push -u origin master - Copy the contents of your WordPress export into this directory. There will already be a
_postsdirectory with an auto-created initial post. You can fully replace this directory with your exported one. - Merge the two
_config.ymlfiles created by Jekyll Exporter andjekyll new. In my case, Jekyll Exporter’s_config.ymlcontained only three lines, for thetitle,urlanddescriptionof my site, while thejekyll newversion included useful boilerplate, and more importantly, thethemeandpluginssettings.
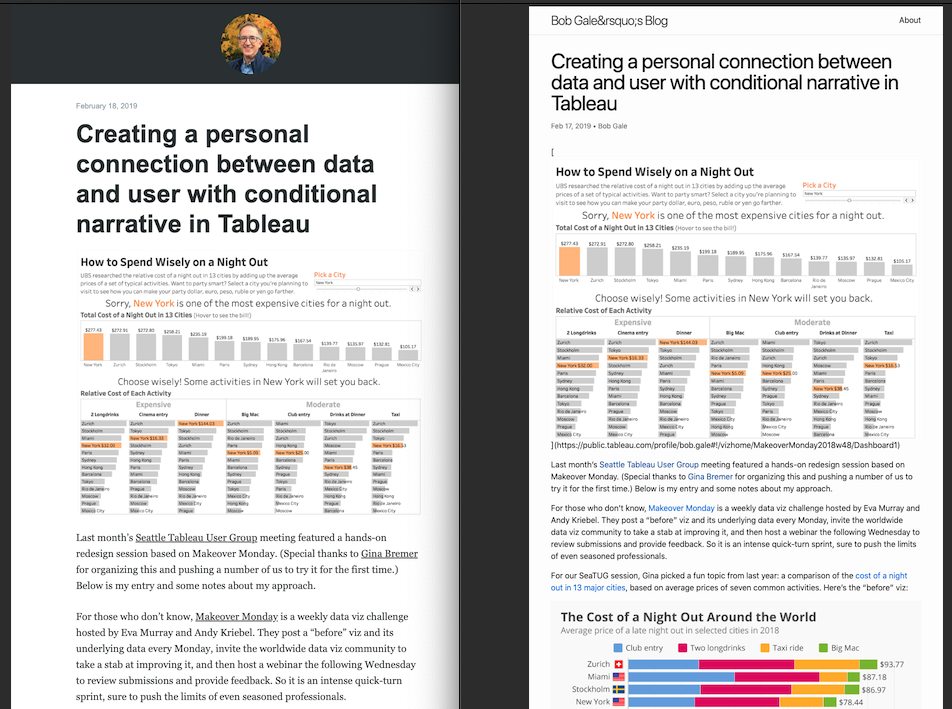
At this point, I was able to run bundle exec jekyll serve to preview the site locally. The result was a totally functional (though plain) index page and very similar post pages:
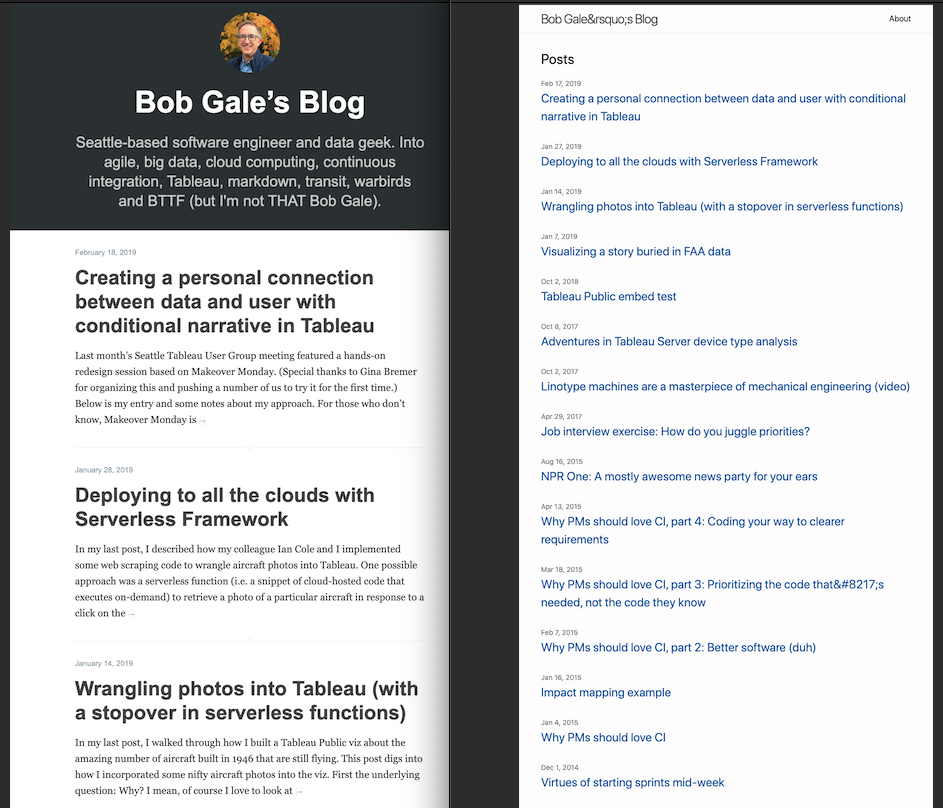
Side-by-side comparison of my WordPress blog and the out-of-the-box Jekyll Exporter version, showing index page (above) and post page (below).
Now to customize it!
Customization
Like all good web software, Jekyll facilitates the separation of design and content. Content lives as nice clean Markdown documents in the _posts and _drafts directories, while design is defined by _layouts, reusable _includes, and _sass stylesheets. Each post has metadata defined as “front matter” at the top of the markdown file, and generating the site combines this with your templates to generate index and post pages.
But wait! The directory structure created by jekyll new contains none of the design directories. That’s because the default Jekyll site uses a Gem-based theme, called Minima, so you don’t need to clutter your files with templates until you want to start overriding the defaults. You can do this by finding the gem’s theme files with bundle show minima, copying the files you want to customize to your site’s directory, and editing them.
Stylesheets
My first step to apply my old site’s design was bring over the stylesheets. My WordPress site used a theme called Fastr, which was defined in a single style.css file. But Minima is defined in the more versatile Sass format, which allows such useful things as variables, nesting and importing. I really wanted to preserve the best of both, but didn’t want to go through each theme line by line to come up with a combined theme. Instead, I attempted a mashup. Sass is a superset of plain old CSS, and later defined styles generally take precedence. So I copied my old style.css to _sass/fastr/_style.scss and imported it in _sass/minima.scss after the Minima imports:
   @import
     "minima/base",
     "minima/layout",
     "minima/syntax-highlighting",
     "fastr/style"
   ;
Then I followed the tried and true approach of previewing the site, looking for weirdness, using Chrome Inspector to find which style rules were causing it, and making adjustments. The biggest change I needed to make based on this was to change several class names to use the term post instead of entry.
Excerpts
Another obvious difference was the lack of an excerpt under each post title. Both WordPress and Jekyll support automatic excerpts of the post text, or an explicit chunk of text defined in your post’s metadata. Jekyll Exporter did a good job of capturing the explicit excerpts I defined for some of my WordPress posts. But there were some subtle differences in how auto excerpts were handled.
To enable excerpts, I added this to my _config.yml:
show_excerpts: true
And added code to my index page layout to display it:
{%- if site.show_excerpts -%}
  {{ post.excerpt }}
{%- endif -%}
However that displayed the full HTML from the beginning of the post, even if that included images. Not exactly what I wanted. Not surprisingly, Jekyll has a solution for this. You can tell it to strip HTML, as well as control the number of words in the excerpt:
{{ post.excerpt | strip_html | truncatewords:50 }}
But this had an unexpected side-effect: Posts that started with an image had no auto excerpt at all. Turns out it’s because Jekyll excerpts works like this:
- Markdown content separated by line breaks are wrapped in
<p>...</p>tags post.excerpttakes only the first paragraph of the post (even if it has fewer words than yourtruncatewordsparameter)strip_htmlthen removes theimgtag, leaving nothing to display.
The fix for this turned out to lie in another handy Jekyll feature. Your _config.yml can specify an excerpt_separator string, which can be something invisible like an HTML comment:
excerpt_separator: <!--end_excerpt-->
So instead of defining a custom excerpt or letting the Jekyll to take the first N words, you tell it to use the first text of the post until it hits this marker. Interestingly, just including this setting fixed my image problem, even if I didn’t use the separator in my post. Using this setting appears to override the only-take-the-first-p behavior.
One thing to note is that if you use both truncatewords and an excerpt_separator, your excerpt will end with whichever comes first.
Pagination
Another obvious customization I needed was pagination. My existing site shows five posts per page. To replicate this in Jekyll, I needed to:
- Add the “jekyll-paginate” gem (which is allowed on GitHub Pages) to my Gemfile and run
bundle install. -
Add some settings to
_config.yml, including one to match the URL structure of my WordPress site:paginate: 5 paginate_path: "/page/:num/" plugins: - jekyll-paginate -
Enable pagination in my index page’s front matter:
pagination: enabled: true -
Iterate over
paginator.postsinstead ofsite.posts:{%- for post in paginator.posts -%} -
And add pagination links to give readers a way to navigate to each page:
<div class="pagination">
   {% if paginator.previous_page %}
     <a href="{{ paginator.previous_page_path }}" class="previous">
       Previous
     </a>
   {% else %}
     <span class="previous">Previous</span>
   {% endif %}
   <span class="page_number ">
     Page: {{ paginator.page }} of {{ paginator.total_pages }}
   </span>
   {% if paginator.next_page %}
     <a href="{{ paginator.next_page_path }}" class="next">Next</a>
   {% else %}
     <span class="next ">Next</span>
   {% endif %}
 </div>
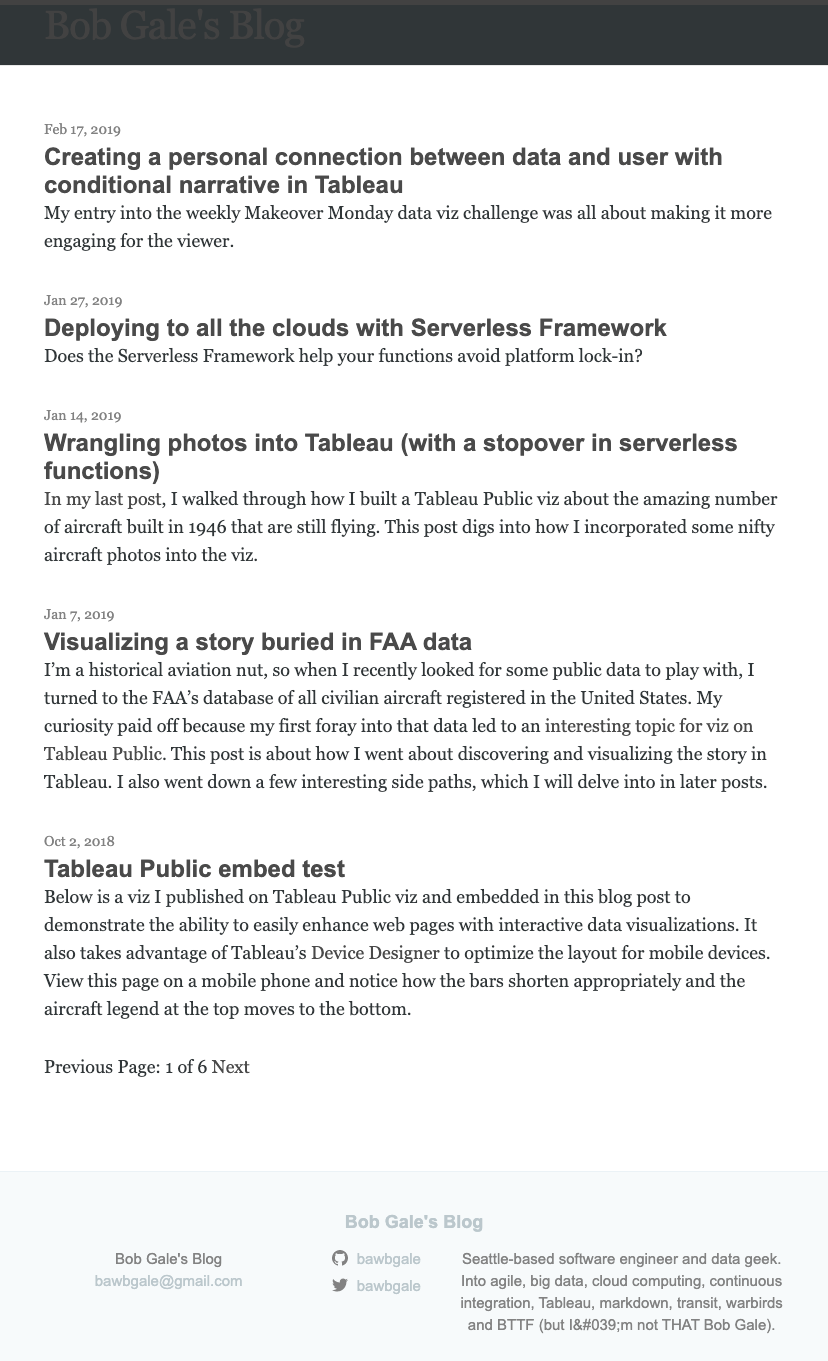
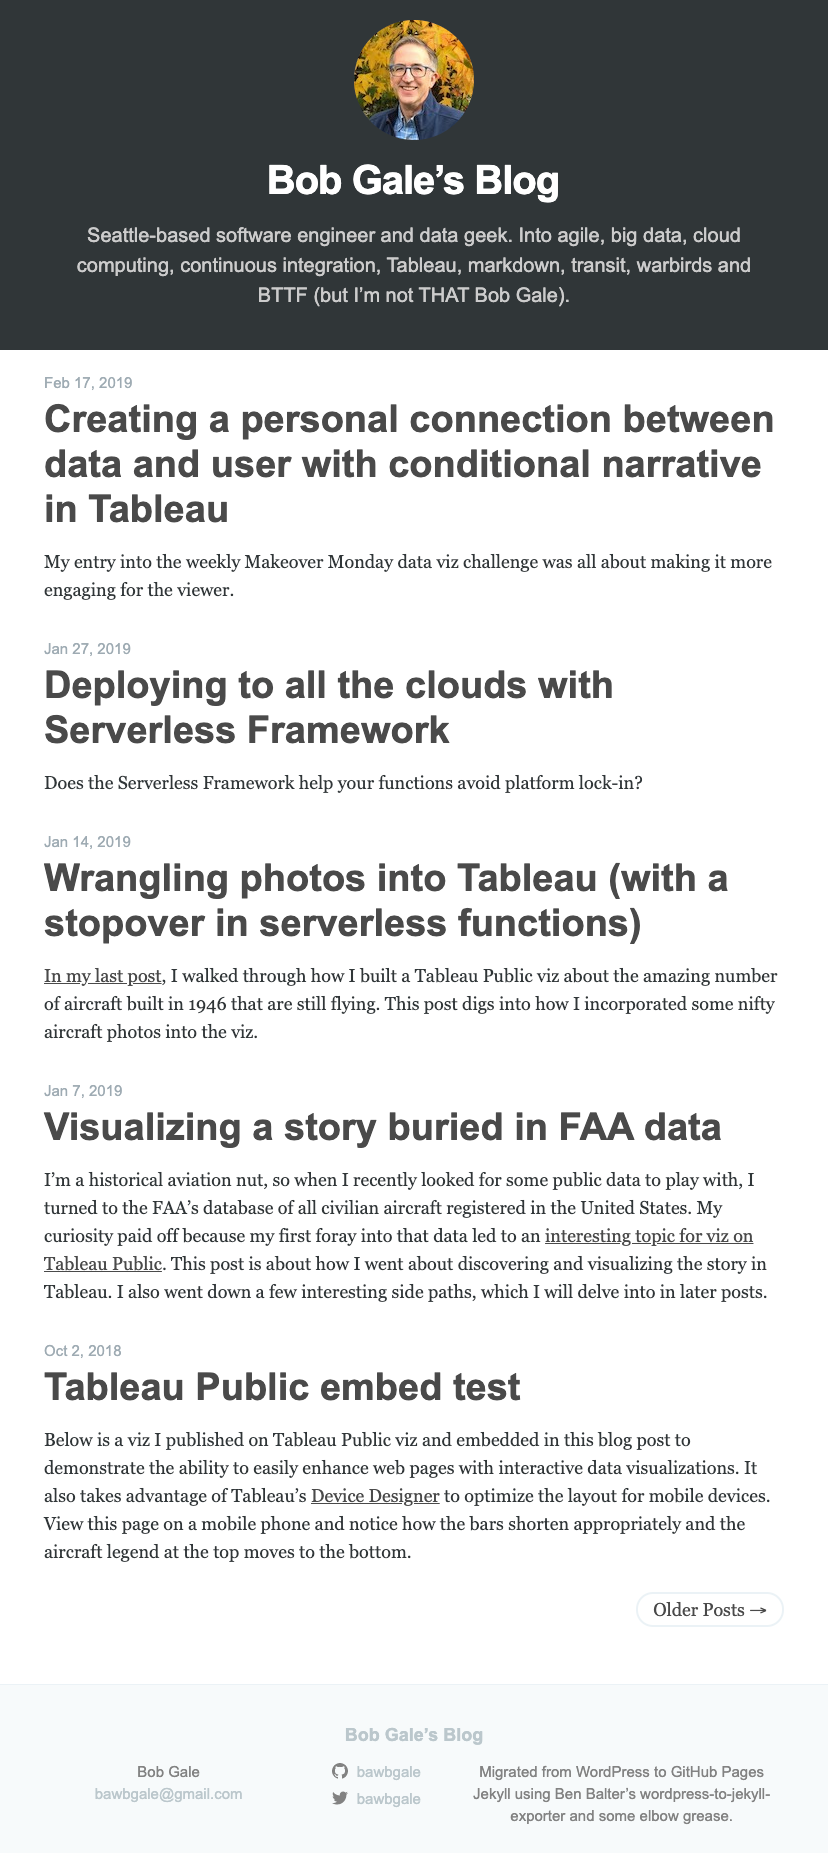
Here’s how that looked:
Header and Footer
Next I turned my attention to the header and footer. Both my WordPress theme and Minima had these nicely split out as separate include files, so it was pretty easy to translate my old templates. Now my new site was looking much closer to the old. However, I actually liked the Minima footer better than my old one, so I ended up using it as-is.
Issues
Although Jekyll Exporter handled most of the conversion of blog posts to Markdown, there were a few issues that I had to fix up in each post.
Image references
I noticed that all the image URLs in my posts used absolute rather than relative references (e.g. https://www.bawbgale.com/wp-content/uploads/2019/02/03_city_data.png instead of /wp-content/uploads/2019/02/03_city_data.png). So they were all still working but being served from my old WordPress site rather than the local copies. They would still work after I switched my domain name to point to my new GitHub Pages site, but only if I kept the wp-content directory structure exactly the same. Instead, I decided to move everything in /wp-content/uploads to /images and find-replace all the image URLs to make them relative.
Smart quotes
Special characters like curly quotes, apostrophes, ellipses and dashes got converted to numeric codes like ’. They displayed fine in post body content, but a few were present in metadata and were displayed as-is rather than being rendered as special characters. Another round of find and replace cleaned that up.
Figure tags
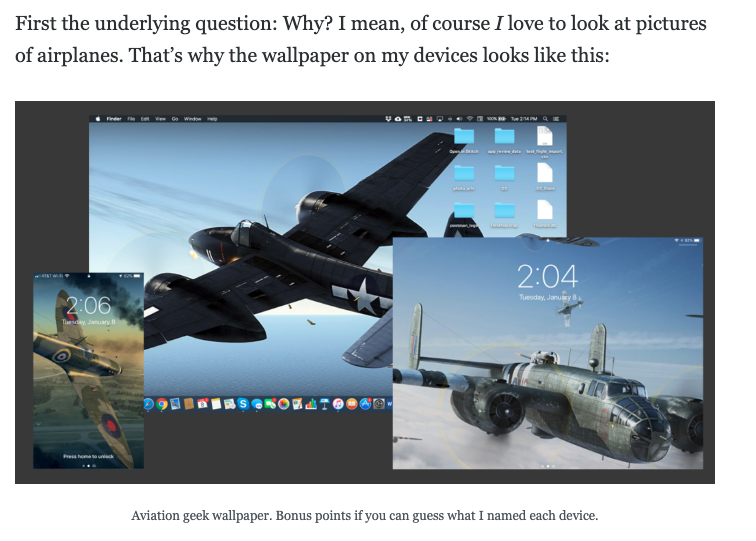
I use <figure> tags in my blog posts to display captions below images. For example:
<figure>
  <img src="/wp-content/uploads/2019/01/01_wallpaper-1-1024x561.png" />
  <figcaption>Aviation geek wallpaper. Bonus points if you can guess what I named each device.</figcaption>
</figure>
Markdown is designed to handle mixing in raw HTML, but some of these tags were bleeding through to the rendered posts.
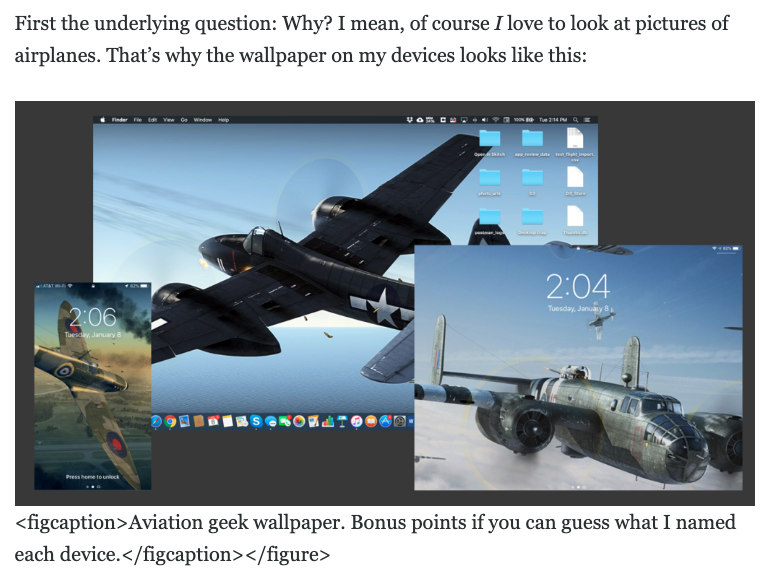
The cause turned out to be Jekyll Exporter including the opening <figure> tag with the preceding paragraph. So when the Markdown was rendered to HTML, a </p> tag was inserted after it, which broke its connection with the subsequent tags. I researched a few workaround to handling captions in Markdown without HTML but wasn’t happy with any of them, so decided to just fix the line breaks and stick with HTML <figure> tags.
Embeds
Two of my posts that contained embeds did not translate correctly. One used a custom Wordpress tag [embed]https://youtu.be/gRHOPmGUtPA[/embed], which was stripped out entirely.
The other was an embedded Tableau Public viz. The embed code provided by Tableau Public consisted of a <div> tag followed by <script>. Jekyll Exported exported only the <div> portion. Pasting the original embed code into my Jekyll initially didn’t work because some of it was indented in a way that Markdown interpreted as a preformatted code block. Tidying the indenting not only rendered correctly but looked neater in the code.
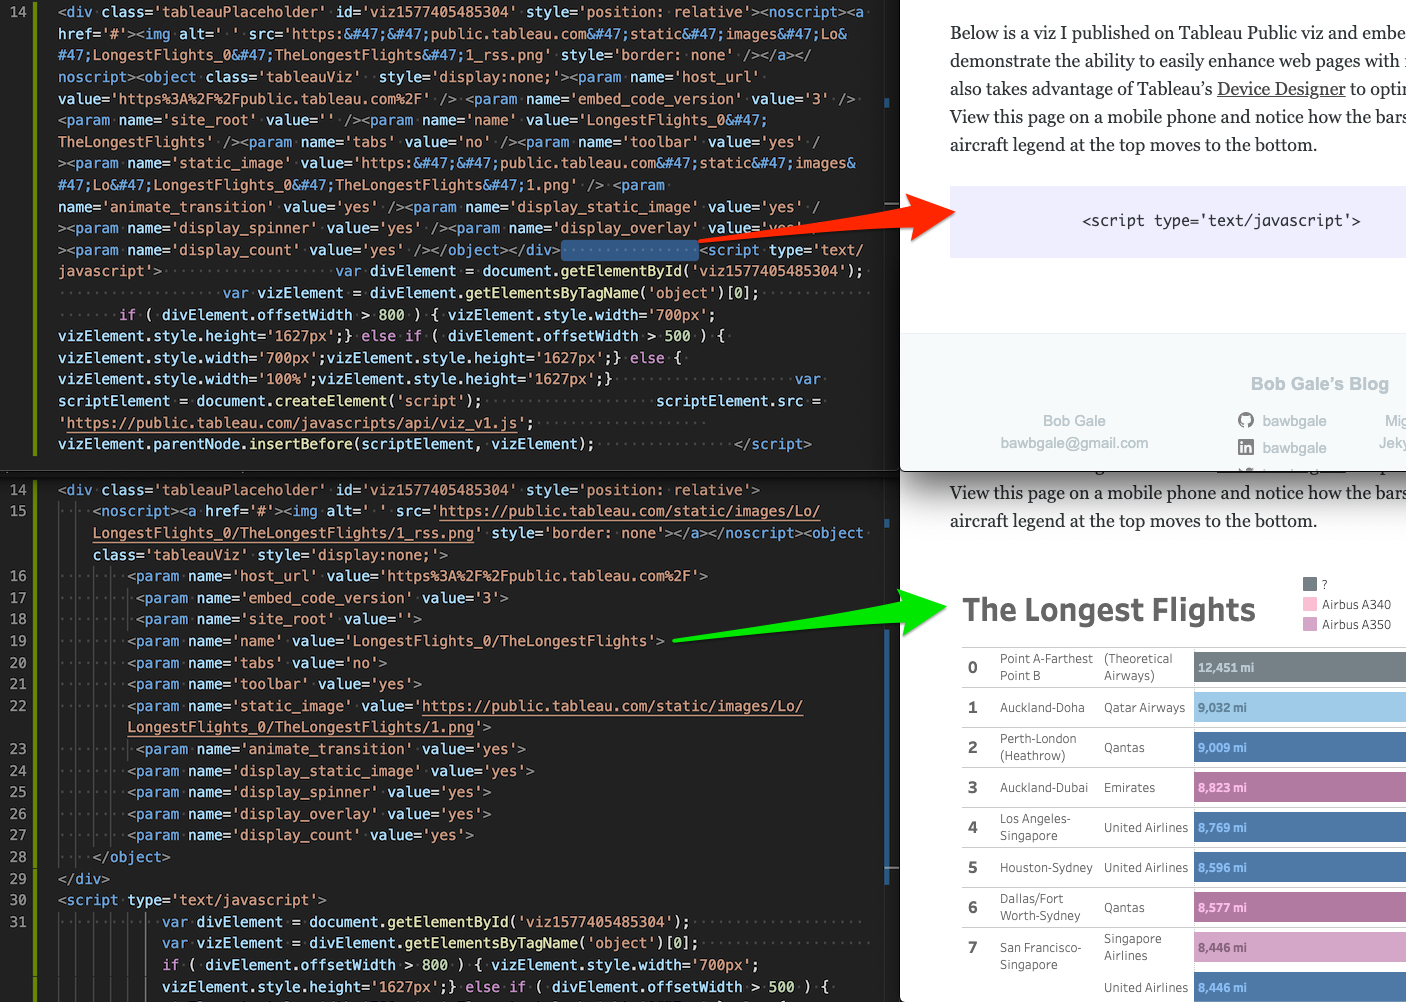
Spaces in embedded HTML threw some of it into a code block. Tidying the formatting fixed it.
Conclusion
All in all, I’m really happy with how easy it was to migrate my WordPress blog to Jekyll. It was a fun exercise to try to replicate my previous design exactly. That said, my site is a bit overdue for a redesign, and now that I’m free of WordPress, it’s a project I’ll actually enjoy!